
For months, I have been heavily relying on premium models like Claude 3.5 Sonnet to power my daily coding workflows. Often nicknamed the ‘gold standard’ or ‘Claude Fable’ of developer assistants, these models are undeniably brilliant. However, the constant friction of high API costs, strict rate limits, and token caps can slow down even the most efficient development cycles. I frequently asked myself: is there really no capable, high-speed, and completely free alternative out there that can keep up with complex development tasks?
Today, I finally found the answer, and it feels like discovering a hidden superpower. Let us talk about GLM 5.2—a state-of-the-art LLM that is completely FREE and immensely powerful—and how to easily connect it to a localized CLI agent called opencode. In this deep dive, I will walk you through my exact setup so you can start leveraging this setup for your own software projects without spending a single dollar.
The Powerhouse: What is GLM 5.2?
GLM 5.2 is an advanced LLM optimized for reasoning, coding, and long-context processing. Unlike standard lightweight models that struggle with multi-step workflows, GLM 5.2 behaves like a heavy-duty reasoning engine. Here are the core specifications that make it highly competitive with premium assistants:
- 1 Million Token Context Window: You can ingest massive codebases, entire documentation sets, or multi-file projects without running out of context.
- 128K Max Output Tokens: Supports incredibly long, fully detailed responses—perfect for large-scale code generation and refactoring.
- Native Tool Streaming: Employs tool_stream=true to enable real-time, low-latency execution of complex tool-use loops.
- Thinking & Reasoning Control: Out-of-the-box support for reasoning_effort configuration and thinking capabilities, allowing the model to perform thorough planning before outputting raw code.
Step-by-Step Setup Guide: Connecting opencode to ZenMux
Wiring this together is remarkably simple. We will be using ZenMux as our endpoint provider and opencode as our terminal-based coding companion. Let us break down the exact workflow.
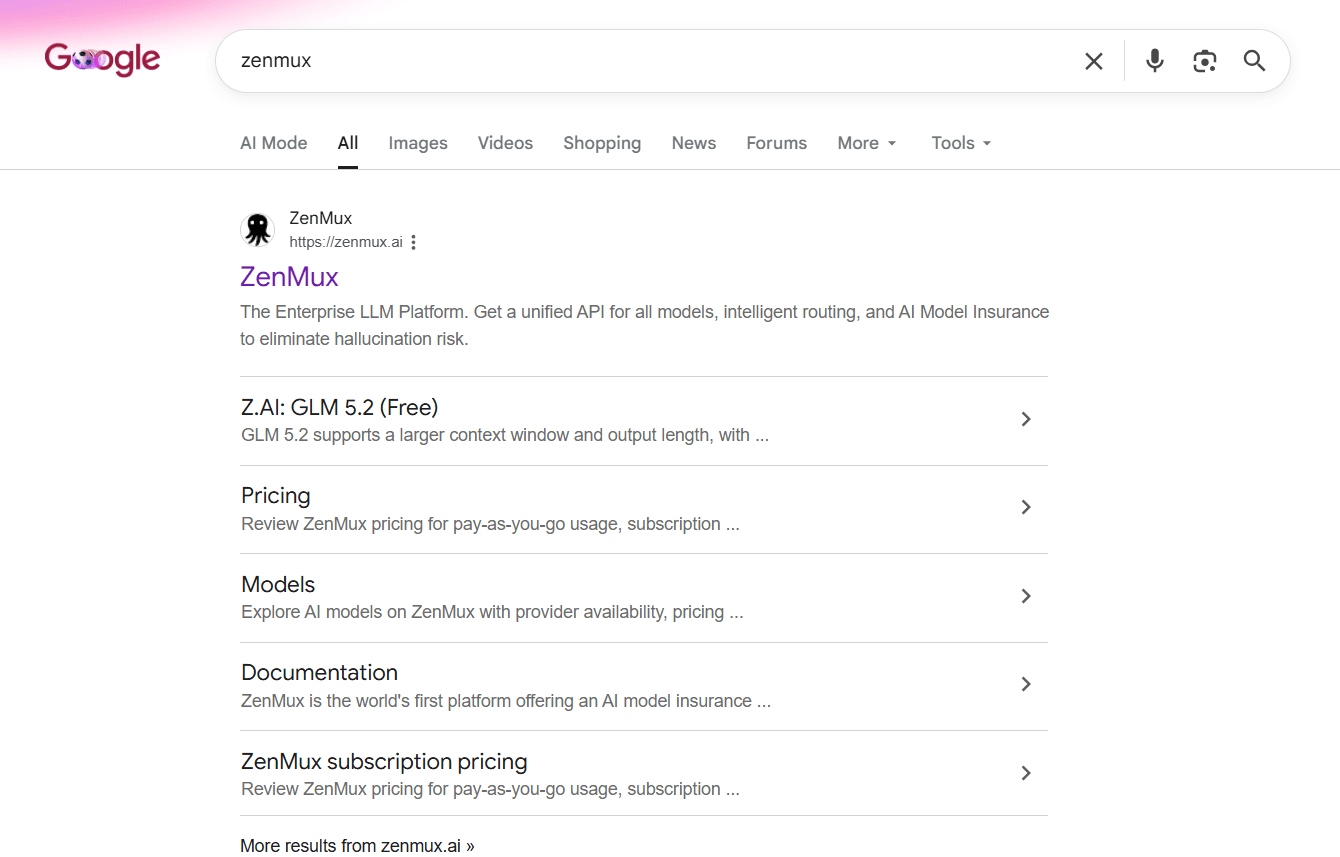
Step 1: Locate ZenMux
To get started, search for “zenmux” on Google or head directly to their platform homepage at https://zenmux.ai.

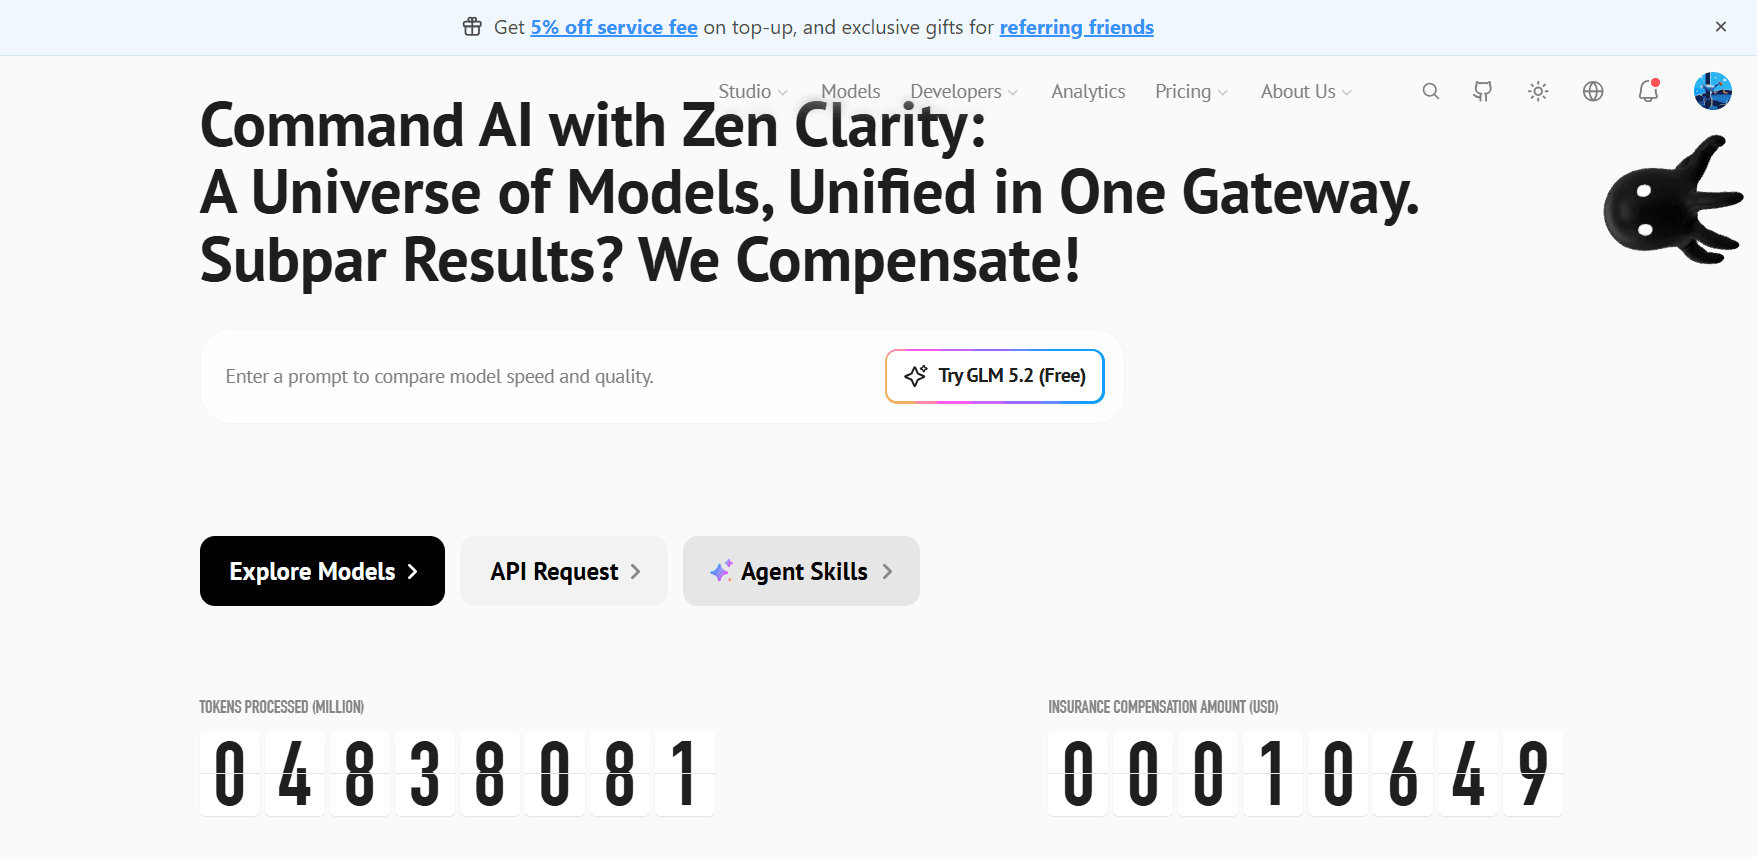
Step 2: Land on the ZenMux Homepage
The ZenMux homepage greets you with the tagline “Command AI with Zen Clarity”. From here, you will find direct links to Explore Models, inspect API Requests, or manage your Agent Skills. Click on the Studio or Explore Models to access the workspace.
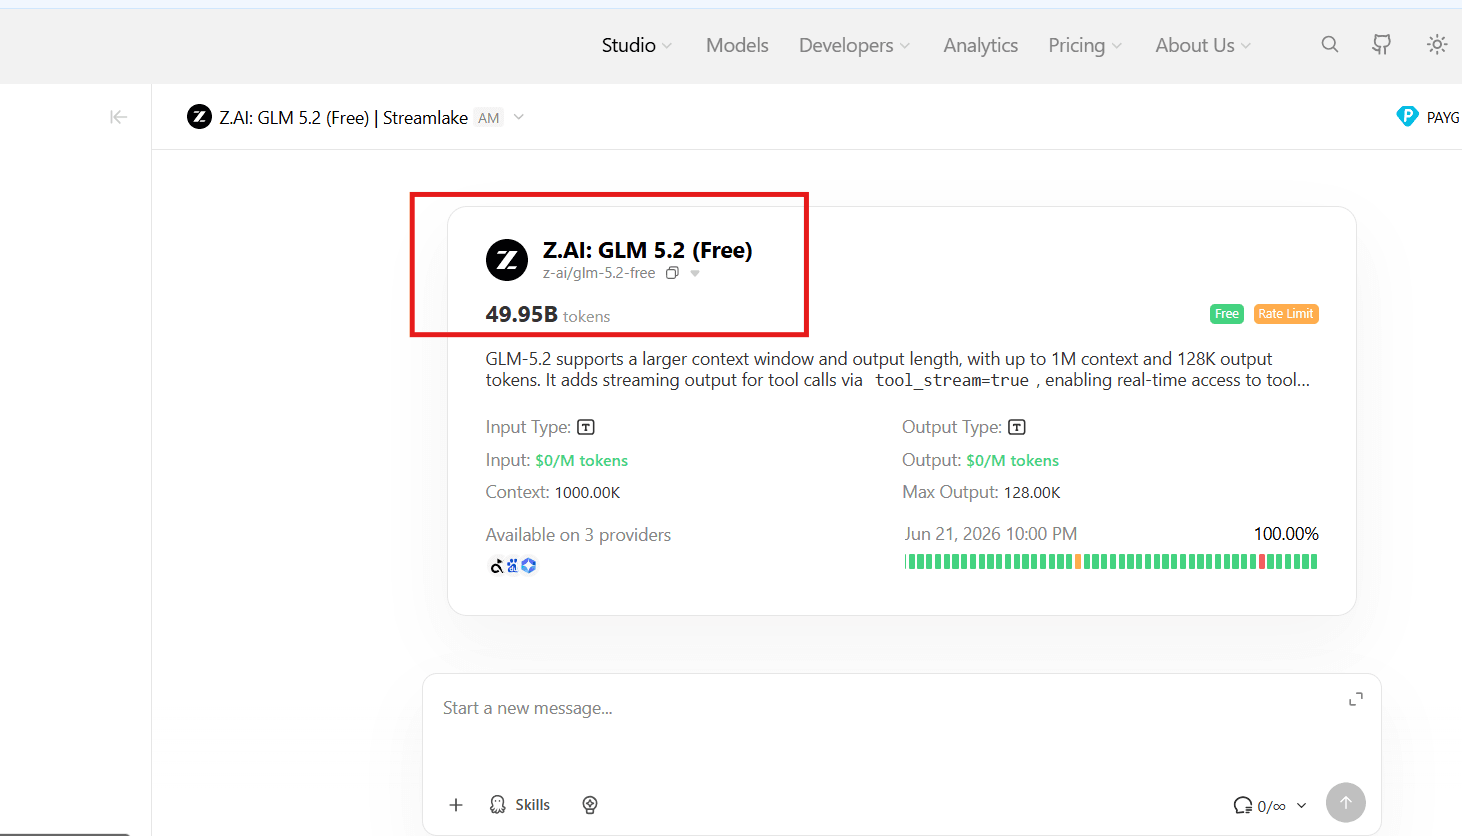
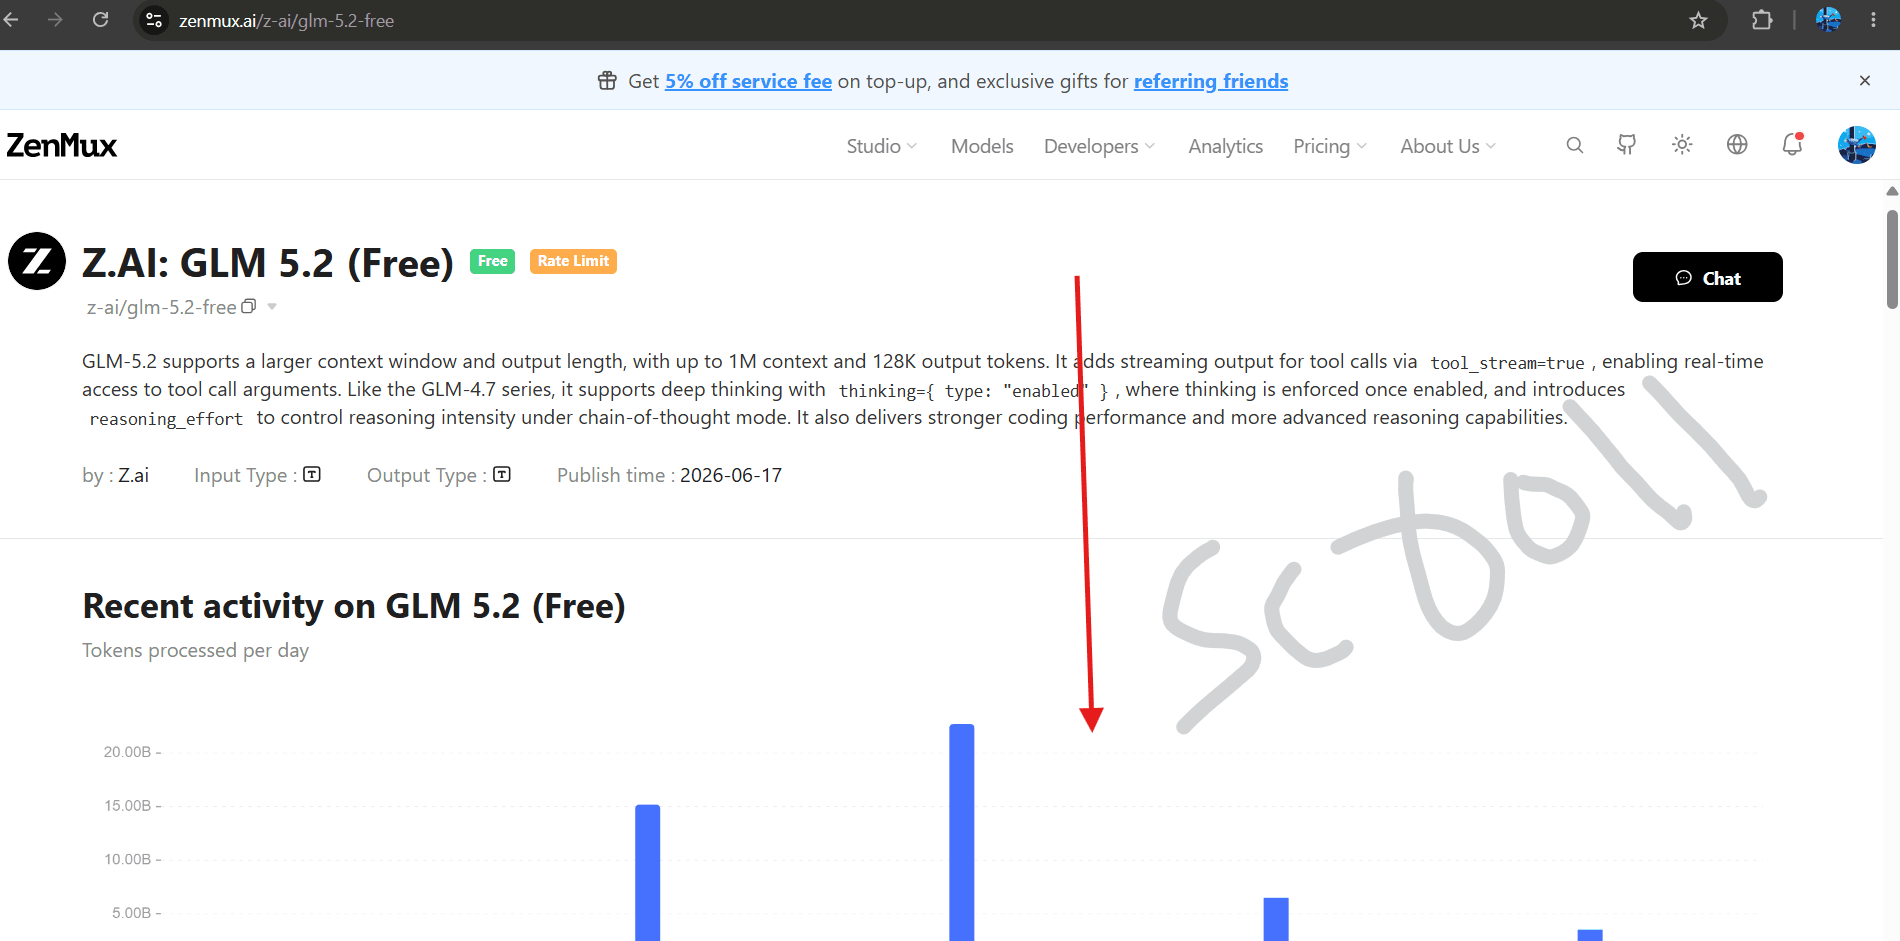
Step 3: Select the Z.AI: GLM 5.2 (Free) Card
In the Studio dashboard, locate the card named Z.AI: GLM 5.2 (Free) (under the identifier z-ai/glm-5.2-free). It indicates $0/M input and output pricing and showcases its availability across multiple backend providers.

Step 4: Check Model Details and Specs
Clicking on the card opens the comprehensive details page. Here, you can verify the underlying technical parameters—such as the massive 1M context limit, reasoning configurations, and tool stream indicators.

Step 5: Create your API Key
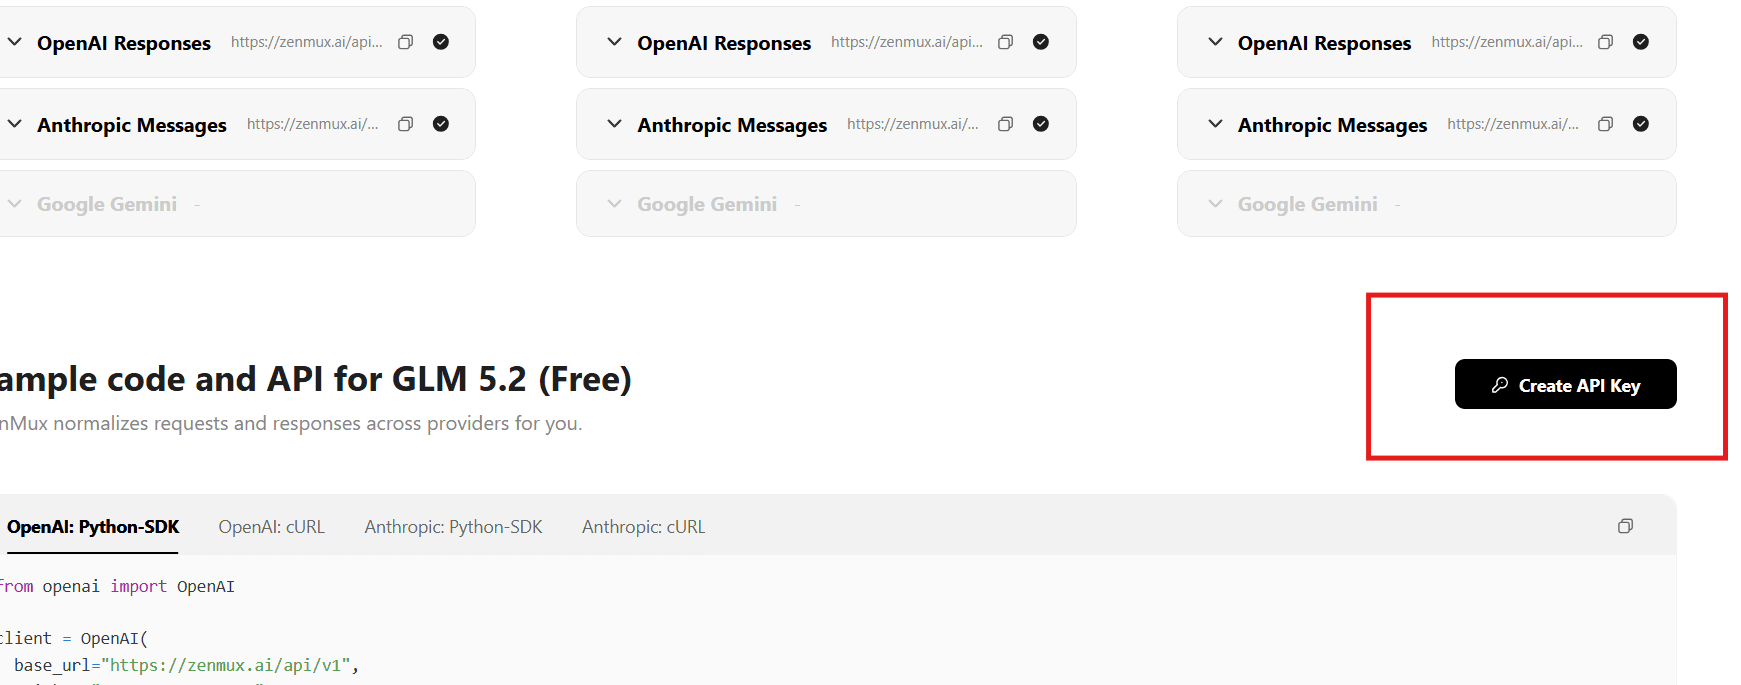
Scroll down to the sample SDK code section. Select your preferred SDK format (whether it is OpenAI, Anthropic, or Gemini format) and click on the Create API Key button in the top-right corner. Save this key in a secure location.

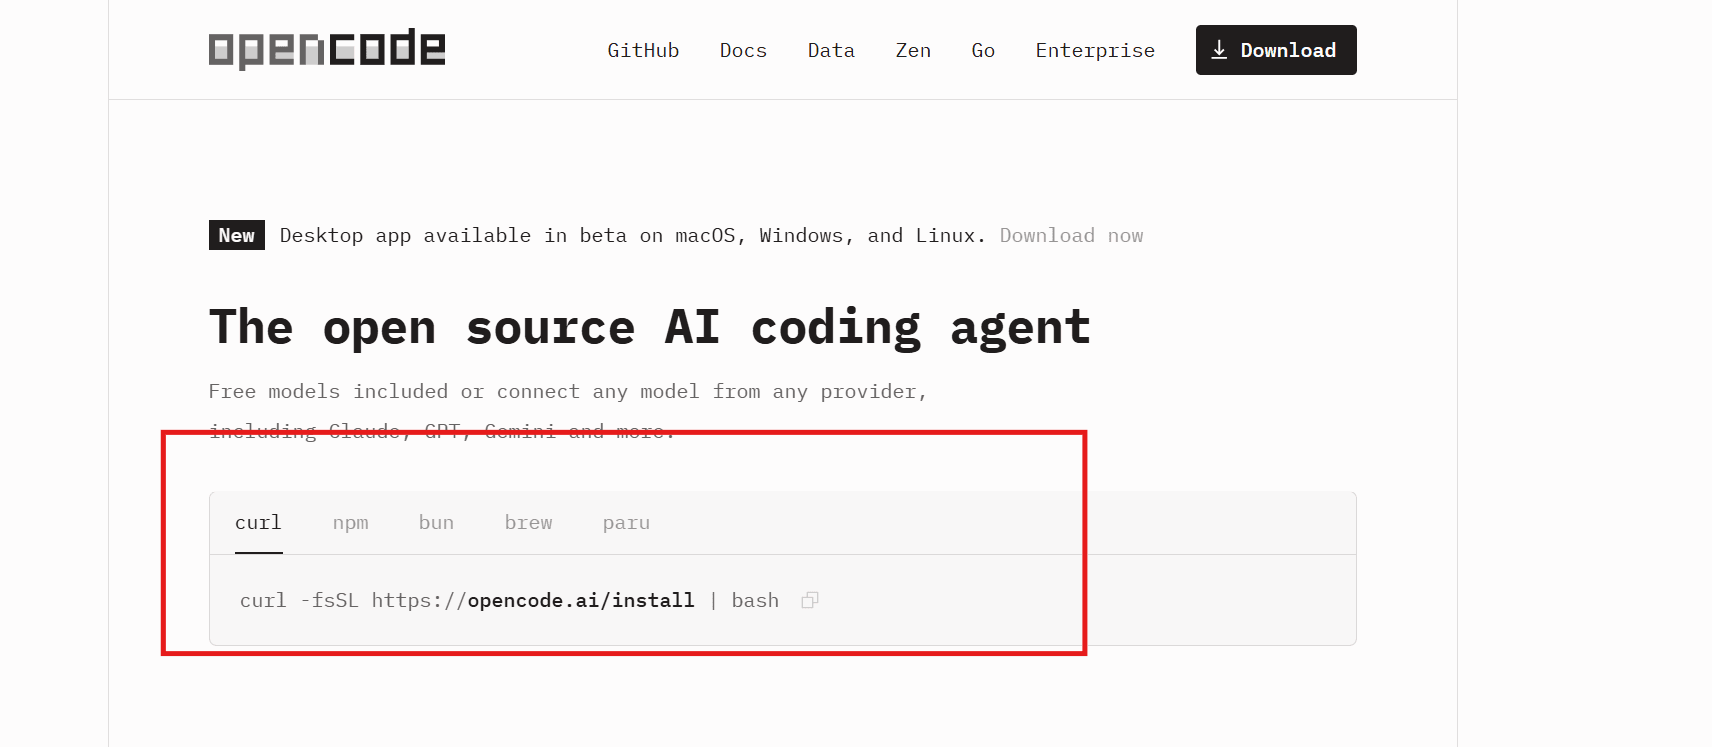
Step 6: Install the opencode CLI Agent
With our API key ready, we need an agent interface to use it inside our terminal. Go to https://opencode.ai and copy the standard installation command, or run the following in your terminal shell:
curl -fsSL https://opencode.ai/install | bashAlternatives like npm, bun, brew, or paru are also readily available depending on your system configuration.

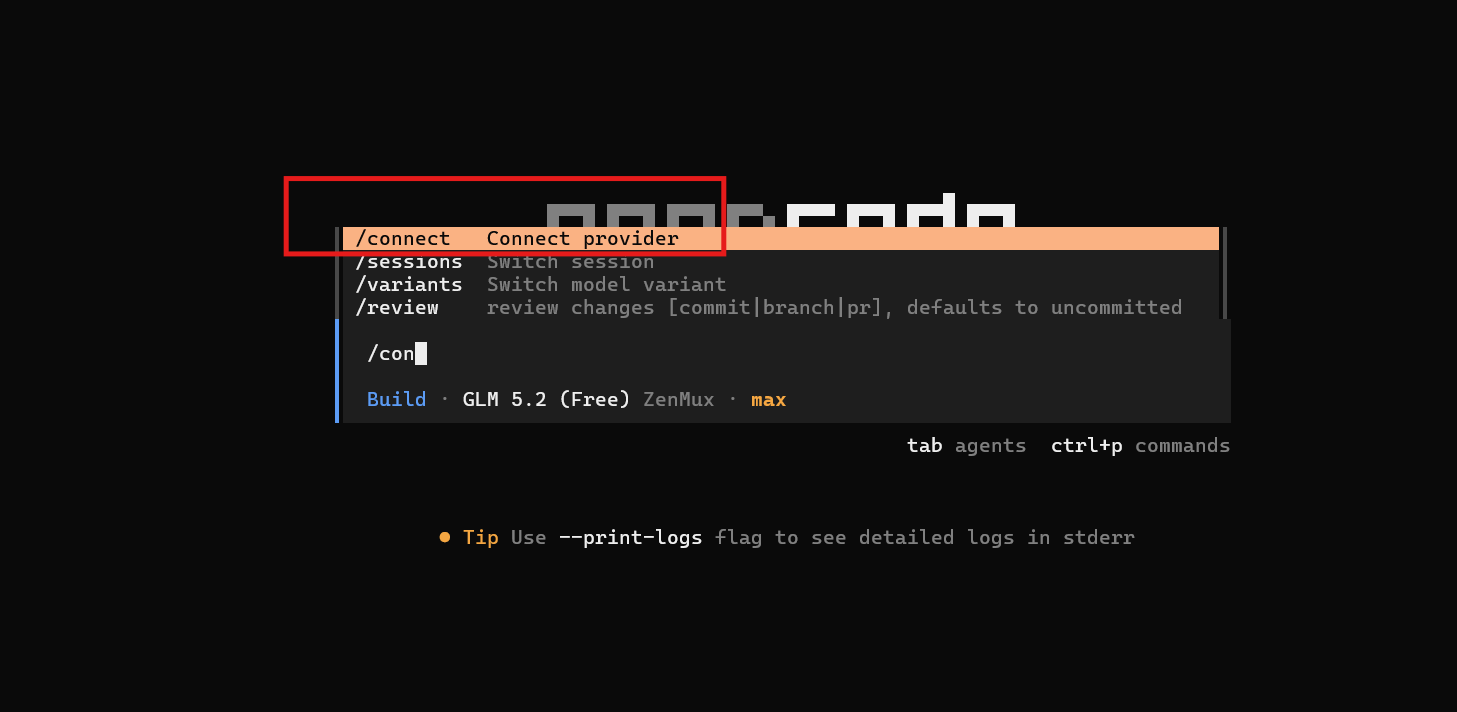
Step 7: Launch opencode and Run the Connect Command
Start your newly installed CLI tool by executing opencode in your terminal. Once inside the shell prompt, type /connect to launch the interactive provider connection manager.

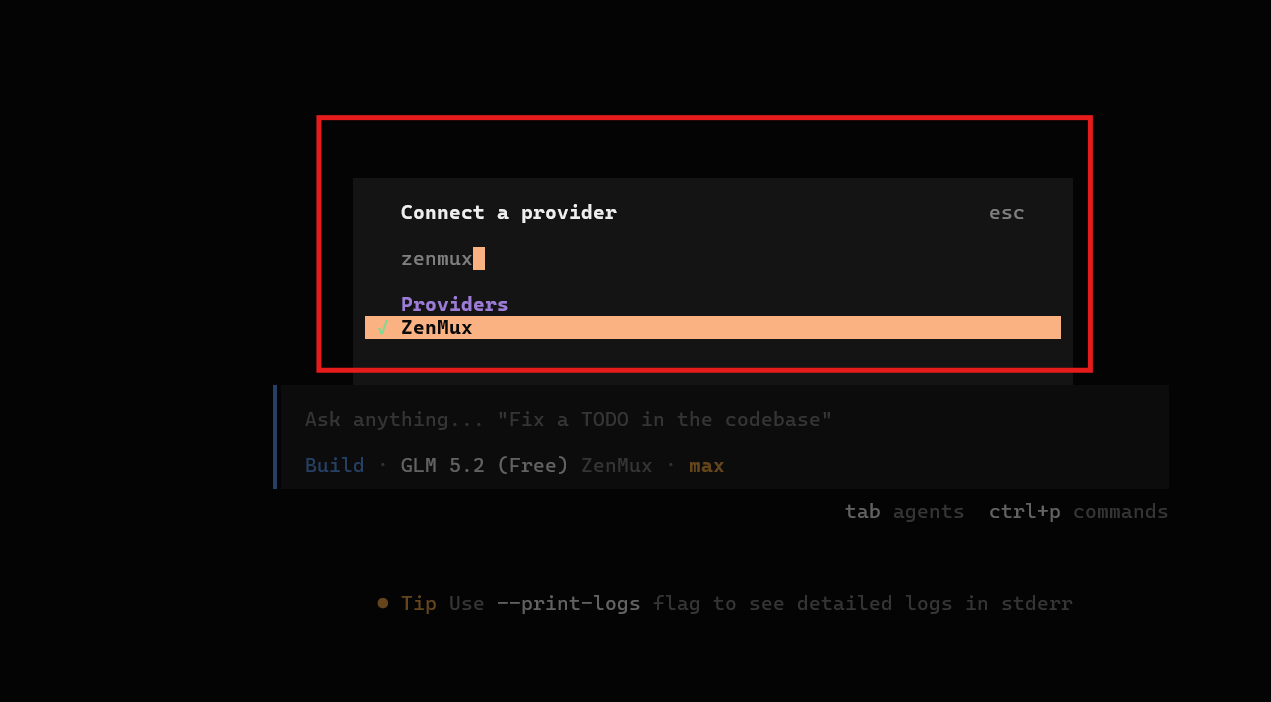
Step 8: Select ZenMux as the Provider
In the interactive search box, type “zenmux” and hit enter. Select ZenMux from the Providers list. A neat green checkmark will confirm that ZenMux is selected as your backend engine.

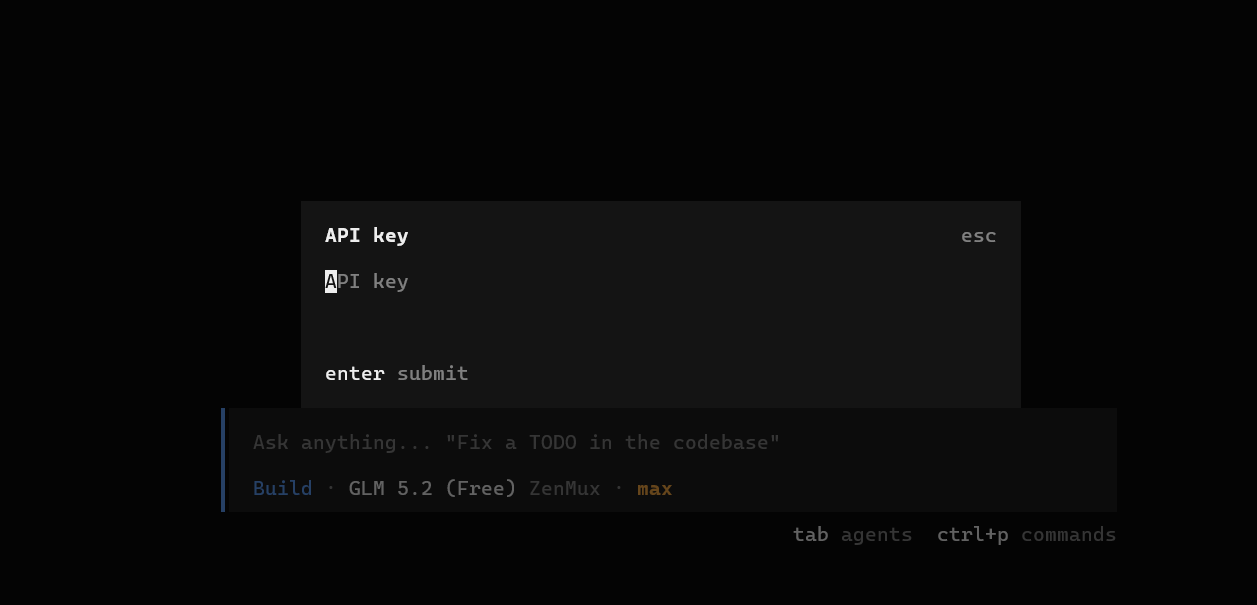
Step 9: Paste and Submit Your API Key
Finally, the CLI will prompt you for your API key. Paste the key you generated in Step 5 and press Enter. The opencode terminal status bar will immediately transition to Build · GLM 5.2 (Free) ZenMux · max. Your local agent is now fully connected and ready to write, refactor, and test code for you!


Evaluating the Experience: Free vs Premium
How does GLM 5.2 actually hold up when performing complex code-generation or debugging tasks? Let us evaluate the core trade-offs:
1. Speed and Latency: Because GLM 5.2 utilizes advanced streaming protocols (tool_stream=true), there is almost zero delay before the first token appears. The execution speed is on par with premium hosted models.
2. Reasoning Quality: With thinking capabilities explicitly enabled, the model actively performs planning. If you ask it to solve a complex logical bug, you will see a detailed ‘thinking block’ planning out the architecture before it ever writes a line of code. This dramatically minimizes typical coding mistakes.
3. The Price Tag: Obviously, the most prominent advantage is the price. Accessing a model with a 1M token context limit completely for free is unheard of. It represents a massive cost reduction for bootstrap developers, hobbyists, or students who cannot afford large monthly subscription commitments.
My Verdict
Having used Claude for almost all my development projects, finding a free alternative that matches its power felt unlikely. But GLM 5.2 coupled with the convenience of opencode has completely shifted my perspective. The setup takes less than five minutes, is entirely free, and puts immense computing power directly in your command prompt.
If you are looking to supercharge your terminal coding environment without breaking the bank, I highly recommend checking out this setup. It is fast, secure, and most importantly, incredibly powerful.